So what DO you do? (printer friendly)
this tutorial is for all the people out there who come across my site with no knowledge of what Poser is. It might also be useful to Poser beginners, and hopefully will "tie those loose ends" for them. :)
So let's start.
To show the process of how I create my images using Poser, Vue d'Esprit and Photoshop, I will now show you a general step-by-step of how I created the image "Anne Shirley" .
Working in Poser
Poser is a 3D character animation and design tool that allows manipulation and design of stock and purchased figures. That means, in plain English, that Poser provides me with a pre-made figure, which I can design pretty much to my liking. I can change the shape of the figure's head and body (for example: I can give it a long nose or a round face) and I can change its proportions. To pose that figure, I can move its arms and legs, its head, its hip, its chest and so on, almost like a real person. Poser is a complete 3D environment, which means it uses lights, textures, props and cameras. Imagine a photo shoot studio - you can dress a model and give them the make up you want, pose them, add props and lights and then position your camera to take the final shot. Poser is very much similar to that - you have a model which you can control the way it looks, you can give it different skins (or "textures"), you can dress it with different clothes and place it with different props, you can control lighting and camera settings. All in order to bring the scene you have in your mind to life. Hitting the "render" button is similar to actually taking the shot - it creates a 2D image (or movie if you're working on an animation) from your 3D scene.
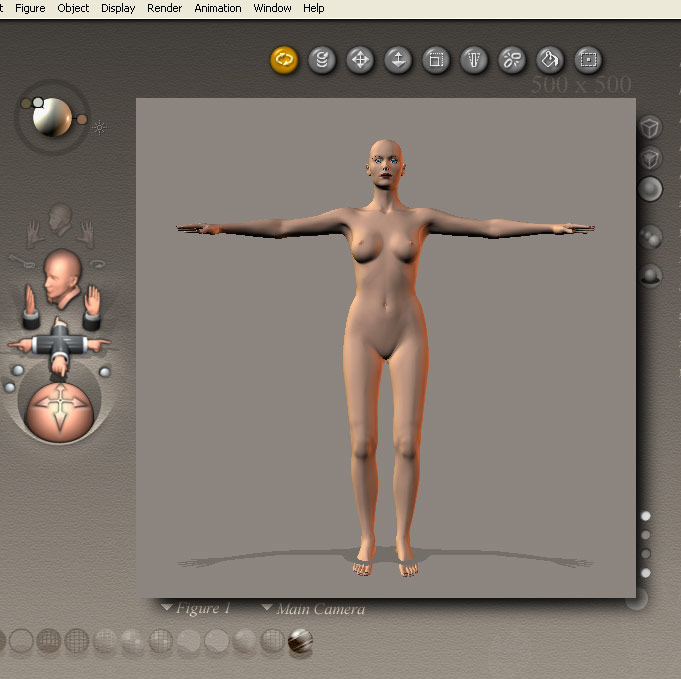
First I load the model Victoria 3 (V3) to my scene. This is what her default looks like.
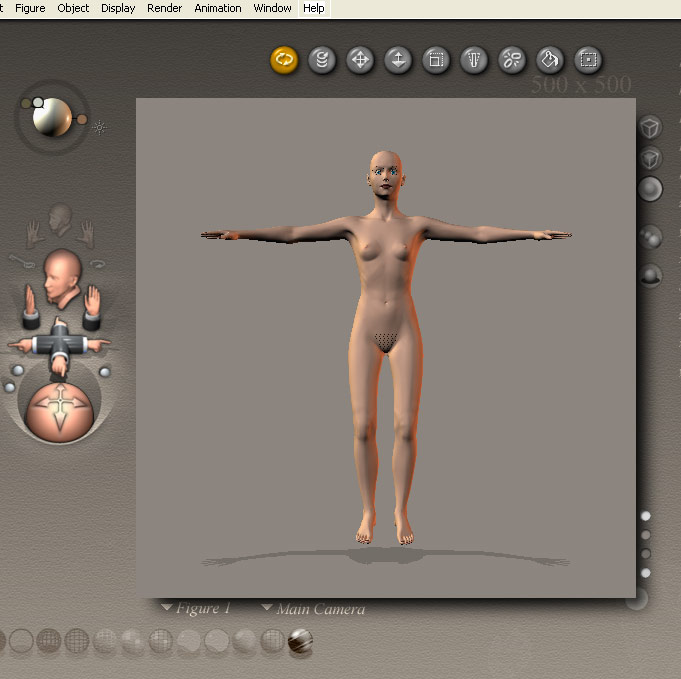
Next I design the character to my liking. In this particular image, I used a character which I have designed earlier and is available for sale in my store at Renderosity (Jubilee 2004 by Firebirdz and myself).
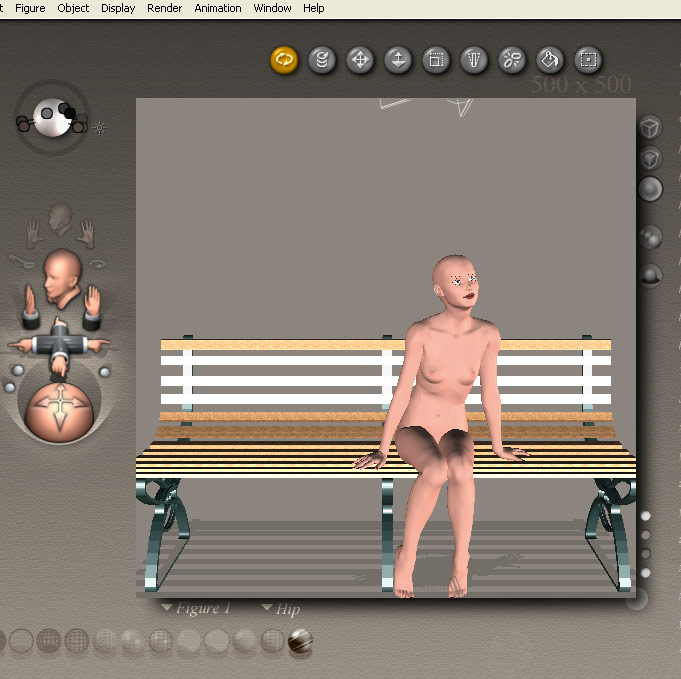
Now I load to the scene a bench I downloaded from the internet (a prop), and pose V3 on it. I also give her a facial expression.
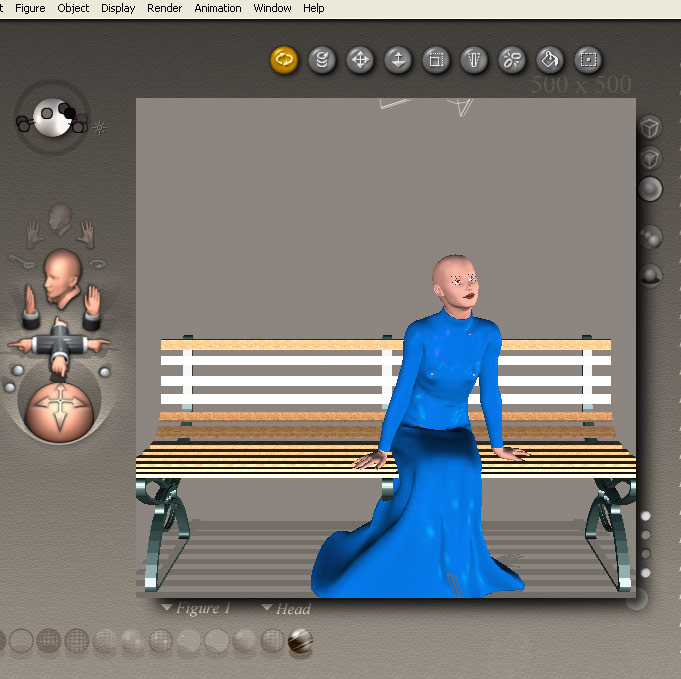
Next I load a dress to the scene and "dress" the figure with it (confirm to figure).
Next I need to texture the models. That gives the models their "feel" - for the human figure it means the skin and for the dress it means the fabric. Take a look around you - everything on Earth has a texture. Your skin feels and looks differently than your shirt or the wall or the desk. Texture gives the model the color and the grain of the outer surface.
Texturing in Poser is done using "UV Mapping". The model is mapped on a 2D image which you can paint on and edit in any 2D program (such as Photoshop). Later, while applying the map on the model, Poser "wraps" it around the model. So, when you paint red lips on the map, the red lips will be the skin on the actual model's lips while applying the texture.
Here are small previews of the textures I made for this image:
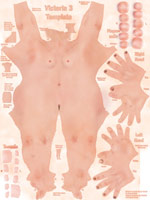 the
body texture
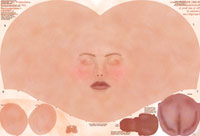 the head texture
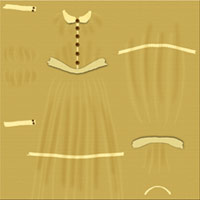 the
dress texture
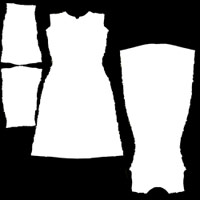 the dress transparency texture (this tells Poser which parts are "fabric"
and which are transparent)
*All of the above textures were hand-painted by myself in Photoshop.
Next I apply the textures on the model in Poser itself. I also added shoes, a bag and a hat - all downloaded from the internet.
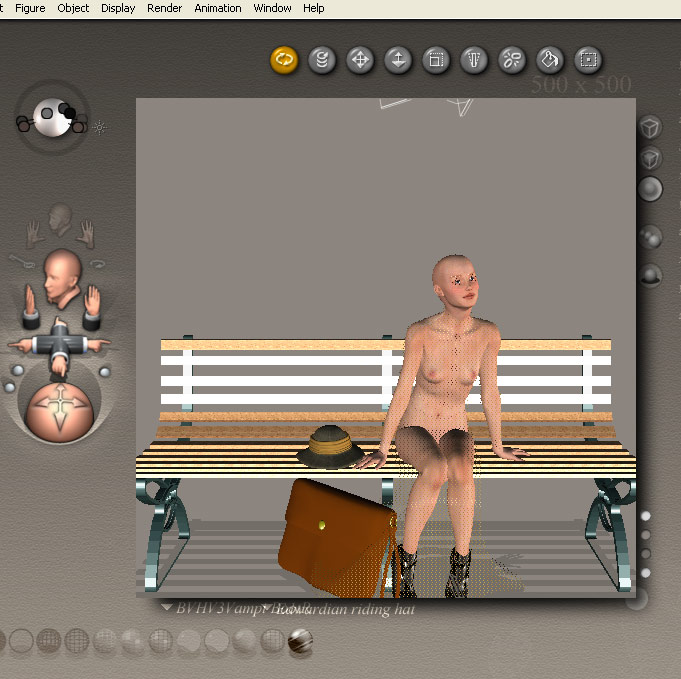
Since I am not rendering this scene in Poser itself, I don't need to work on the lighting, the background and the camera position, but in images rendered within Poser these are important and crucial steps. Later on in this tutorial, you will see all these steps being done in Vue d'Esprit.
For this particular image, my work in Poser is done.
Working in Vue d'Esprit
Vue d'Esprit is a scenery animation and design 3D tool. Much like Poser, it provides me with several pre-made objects, such as plants and terrains, that I can edit and manipulate. Vue is a complete 3D environment - lights, textures, props and cameras. If Poser is like a photo shoot studio, then this program enables you to create and design landscapes and spaces (such as rooms or buildings), and once you have created your "world" you can take the shot - render. In Vue, like in Poser, you can control lighting and camera settings.
I open a new scene in Vue and import my Poser scene. Importing a Poser scene into Vue means that your scene is being brought exactly the way it was in Poser - the same figures, the same textures, the same props and the same ratio between all. Once the Poser figures are all in place in my Vue scene, I turn to position my camera. I will later build the composition according to my camera's view.
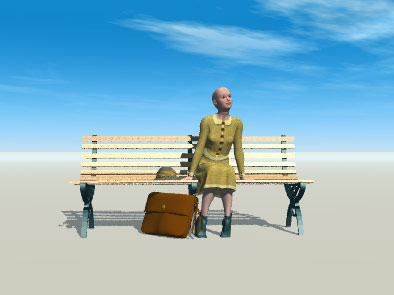
Next I start working on the actual scene. First I texture the ground (textures can be found in my freestuff). I add pre-made trees and other plants and build the composition around the girl, using elements Vue provides me with.
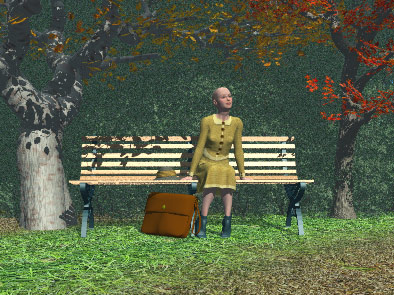
Last, I turn to work on lighting - I can change the position of the "sun" in the sky, I can add spot lights and other lighting and position them, I can add light beams and so on.
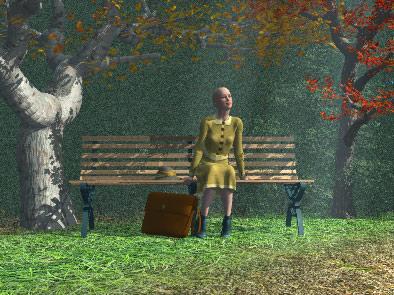
When I am satisfied with everything, I render the final image.
The next steps will be done in 2D work in Photoshop.
Working in Photoshop
Photoshop is an image editing software. It allows me to manipulate and enhance 2D images, as well as draw and paint images from scratch using my graphic tablet. Basically, now I can take the final render (or "shot", if you like) and edit it as a 2D image. I can paint on it, I can change colors, I can apply effects and so on. In this particular image, the work was done in 2 levels - one was painting missing details, and one was enhancing and editing the actual image.
I open the final render in Photoshop. The first thing I do is paint in the missing details - in this case, the hair and the grass. This is done in traditional painting techniques - that is, different colors and brush strokes in order to simulate light and shadow and different surfaces.
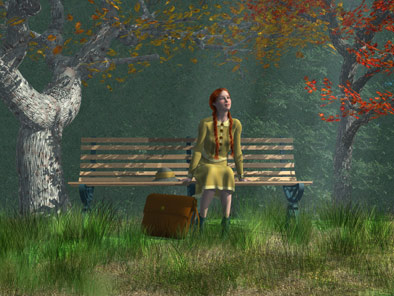
Next I turn to add contrast. The image is basically finished, but it doesn't have enough contrast, and the colors look too "washed out". So now I need to enhance the colors and the contrast using several techniques (some of them can be seen in my A Bit of Portrait Postwork tutorial).
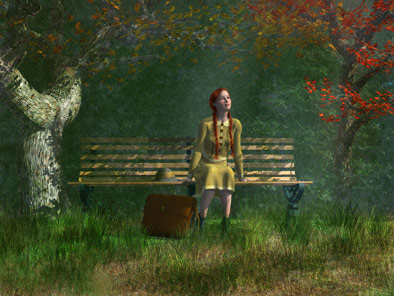
And now working on the colors. I keep to the original colors, I just "bring them out".
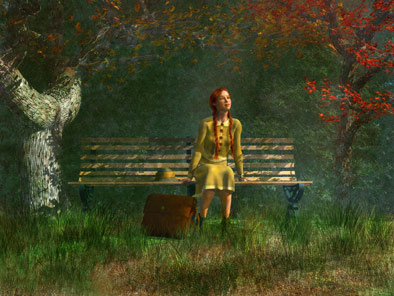
This is it. Now the work on the image is done. I add a frame and my signature, and save the Final Image.
I hope this very general tutorial helped you understand my process of creating an image using all 3 programs. The work changes in each image - in some images I do more work in Poser, others in Vue and in others in Photoshop. The way I see it, it's not about what tool you use, but about using the tools you have in the best way you know how, in order to bring the image you have in your mind to life. :)